
How to Speed Glue Effectively
Greg writes on how he uses speed glue
First published on Monday, September 5, 2005
Last updated on Monday, November 1, 2010
by Greg Letts - an Australian state coach, an International Umpire and one of the top ranked players in his country.
Edit: Please note that speed glue is no longer legal according to ITTF regulations.
Continued from: Should you speed Glue?
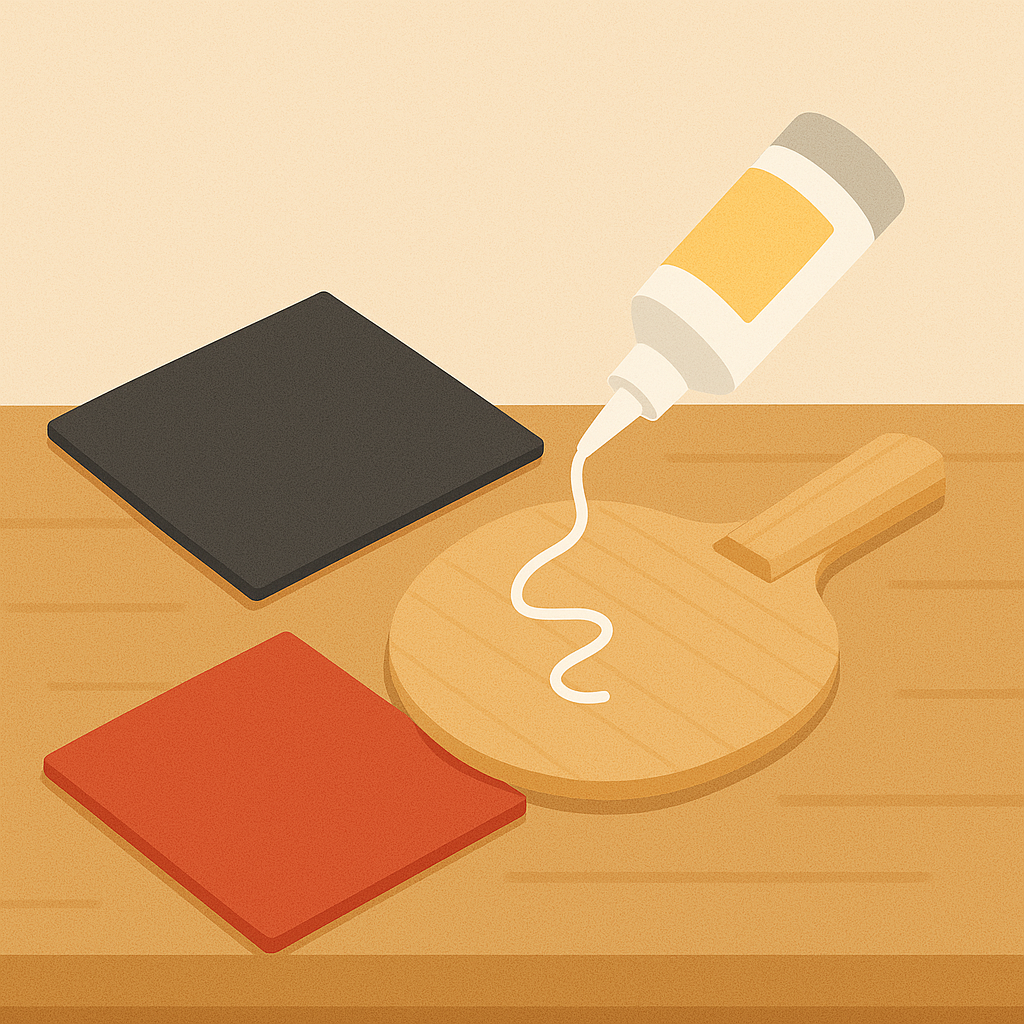
Speed Gluing Steps
Seal the Blade
First, to avoid ripping fibres from my blade with each reglue, I sealed the blade that I use with some wood sealer. I use the type that soaks into the blade and is pretty much invisible once it dries, rather than the type that leaves a noticeable coating on the blade. This is because I am hoping it will have less effect on the feel of the blade.
I've also read some players recommending the use of hairspray for sealing the blade. I'm not sure whether maximum hold spray would work better than normal hairspray though!
You will only have to seal the blade once every few years or so, with luck.
Prime the Rubber
If the rubbers are new, you will need to prime them first. Since the glue component in speed glue is actually pretty low, you need to build up a bit of a glue base in the new rubber. The easiest way to do this is by putting some normal rubber glue such as Butterfly Chack on the rubber, then allowing it to dry. This gives you a nice amount of glue soaked into the rubber to begin with. You could also use several coats of speed glue (probably about 3 or 4 coats), letting the glue sink into the sponge and dry between coats.
If you don't prime the rubber, you are likely to find your speed glued rubbers falling off the bat halfway through a game - as I have found out from experience! I used to wonder why my speed glued rubbers would never stick to my blade until I had glued them 3 or 4 times - once I read about priming the rubber it all made sense.
Put Glue Layer 1 on the Rubber
Many people recommend putting a small amount of glue in the centre of the rubber, and then spreading it around. I prefer to simply start at the left hand side of the rubber, and keep dipping my brush into the rubber as I cover the rubber from left to right with a thin layer of glue - this way I don't waste any glue. It doesn't really matter too much as long as the glue is covered evenly over the whole rubber.
Once the whole rubber has been covered, put it down (glue side up, of course), and turn your attention to the blade.
Put Glue Layer on the Blade
I now put a thin layer of glue on the blade, making sure I cover the whole blade evenly. By the time I have done this, the rubber is ready for its second layer of glue.
Put Glue Layer 2 on the Rubber
A second layer of glue is put on the rubber, just the same way as I did layer 1.
Put the Rubber on the Blade
I then check to see that both the rubber and the blade aren't visibly wet - some people prefer to put it on wet, other's don't. I just find it easier to work with if both the blade and rubber aren't dripping with glue.
Provided they are both dry enough, I put the rubber on the blade, starting at the logo and working up to the tip of the blade. I then get a roller and gently roll down the rubber to make sure that it has firm contact with the blade. Be careful here, the pressure should be mainly down onto the blade. If you push too much sideways you'll stretch the rubber off the end of the blade and have to trim the overhanging rubber.
Experienced players will probably have noticed that I haven't mentioned anything about the rubber doming, or waiting for a full dome etc. I know some players pay close attention to the amount of dome in the rubber, but I've never really found that the amount of dome made much difference to the way my rubber felt. My rubber felt and sounded glued up regardless of whether there was much dome or not. YMMV, of course.
Less experienced players are now probably wondering what the heck I am talking about. The dome of a rubber is the amount that the rubber curls up when speed glue is put on the rubber - it can curl quite a bit and be quite tricky to get on the blade. You'll see what I mean when you give speed gluing a try.
Repeat for the Other Side
Same again, but for the other side.
Clamp together Gently
Once both rubbers have been attached, I put them into a plastic cover to protect the rubber surface (the plastic sheet that most table tennis rubbers come in works well) and I then gently clamp them togther in my bat press. It's nothing fancy, just two pieces of wood with butterfly screws at each corner. The idea here is to apply gentle pressure to make sure the rubbers attach firmly to the blade - not to squeeze the bat so hard the glue squirts out the side like tomato sauce when eating a hamburger!
I personally like to leave my bat in the clamp for about 30 minutes before playing. I also return my bat to the clamp while I'm waiting for my next match - I'm hoping that this will help slow down the evaporation of the glue from my bat and also make sure the rubber stays attached.
End of the Day - Remove the Rubbers from the Blade
Once I have finished playing for the day, I remove the rubbers from the blade and rest them on the blade before putting a plastic cover over the rubber surfaces. This helps to allow the rubber to shrink naturally as the glue slowly evaporates. Most players seem to do this to avoid keeping the rubber under any more stress than you have to.
Other things to Consider
Glue Removal
Again, this is one of the areas where some players can get a bit obsessive. Since you are gluing the bat each time you play, there is a build up of glue in the sponge, and eventually the build up will be so much that you won't be able to get a good speed glue effect. At this point, you can then use boosters, which are supposed to reactivate the built-up glue and give a good glue effect. Other players have techniques for removing glue from the rubber, to allow another fresh start.
Personally, when I used to speed glue and was playing 3-5 times a week, I found that the surface of my rubber used to wear out long before glue build up was a problem. Since speed gluing makes the rubber wear out faster, the sweet spot of my bat used to wear out pretty quickly (hopefully because I was hitting it there so much!). So you may not find speed glue build up to be much of a problem either.
Long Life Speed Glue
Table Tennis manufacturers are now making long life speed glues, which are supposed to give a speed glue effect for anywhere from 3 days to a week after gluing. The general consensus is that the effect is not quite as good as the short-lived glues. If cost or convenience is an issue, these may be worth your while using. If performance is the main factor, stick to the normal speed glue.
© 2005-2026 Greg Letts
You may also read Greg's blog and purchase Australian TT videos from Greg's own website